How To Backup And Restore Your Jailbreak Apps, Settings, and Preferences tags: iPhone Discussion How To Backup And Restore Your Jailbreak Apps, Settings, and Preferences If there’s one area of jailbreaking that continues to be a source of confusion, it’s backing up all of your jailbreak apps and tweaks. There are many different methods devised by just as many people, but there continues to be a lingering sense of misunderstanding among the throngs of jailbreakers. Fortunately there is one surefire way to backup your iPhone, and all of your jailbreak settings each and every time by means of a handy little jailbreak app called PKGBackup… But if this tool is so good, why are so many people still confused about how to backup their jailbreak apps, tweaks, and settings on their iPhone? The main problem with PKGBackup is its learning curve. Due to its many settings, and its not so intuitive UI, it can be quite confusing. Add that to the steep overall initial investment — the app rings up at $7.99 on the Cydia store — and you have the perfect recipe of cost + confusion; just enough to keep would be PKGBackup-ers away. Let me be the first to admit that indeed, PKGBackup can be confusing. The good news is that if you follow this guide step-by-step, you’ll be on your way to backing up and restoring your iPhone’s jailbreak data with confidence. Before we get started Before backing up and restoring your jailbreak settings, I highly suggest that you become familiar with iTunes‘ built in backup feature for all of your App Store apps, SMS messages, email settings, and things like that. There is a so-called “Apple Default Apps” setting in PKGBackup, but I recommend that you keep the two backup functions separate. Let iTunes do the heavy lifting for all of your official stuff, and let PKGBackup handle all of your jailbreak data. Keeping these two duties separated will ensure that things remain simple and concise; that’s important when it comes to backing up and restoring your precious data. Purchase and Download PKGBackup This part is simple enough. If you have a jailbroken iPhone, head over to Cydia, and do a search for PKGBackup. Once you find the package, you will have to purchase it for $7.99. That’s admittedly very pricey, but you’ll have to decide if the convenience factor is worth the up front investment. 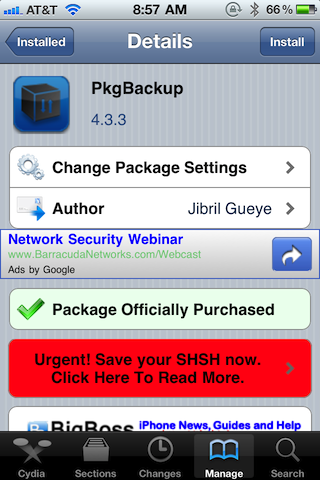 After installing PKGBackup, open up the app from your springboard. 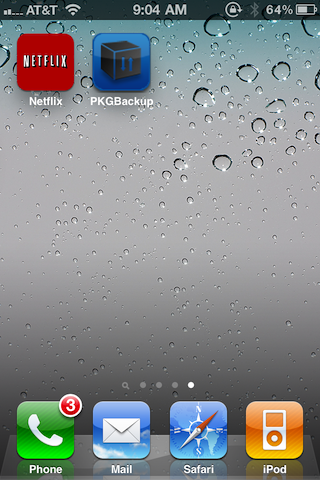 You may be asked to provide location information. This information is used to display wherePKGBackup is being used throughout the world using this map. Feel free to decline this, as it won’t impact your ability to use PKGBackup. Setting up PKGBackup to Work With Dropbox This is a relatively recent addition to PKGBackup, and is really the thing that sold me on its usage. Prior to Dropbox integration, your preferences and things were saved by means of a contact entry. That option is still available to use, but I highly recommend you go the Dropbox route when it comes to using PKGBackup. At the main PKGBackup Screen, you will see a little gear icon in the upper left-hand corner. Tap that gear icon to venture into PKGBackup’s main settings screen. 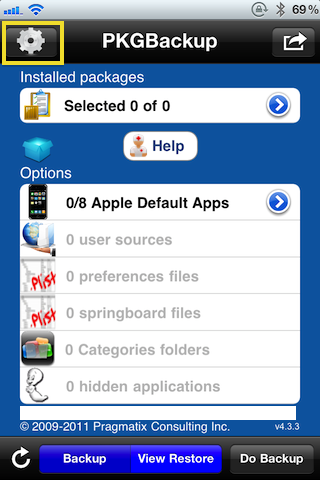 Once you’re in the settings screen, locate the Dropbox option near the upper right and tap it. Here is where you will be prompted for your Dropbox information. 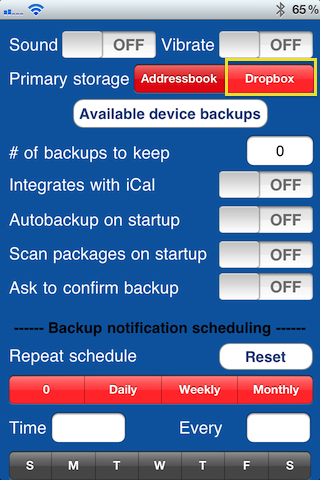 If you’ve been living under a rock for the past few years Dropbox is a cloud storage solution that’s free for up to 2GB. That’s more than enough space for all of your backups. Head over to Dropbox and sign-up if you don’t already have an account. Next, provide your Dropbox information so that your Dropbox account can be linked to PKGBackup and tap ‘Link.’ 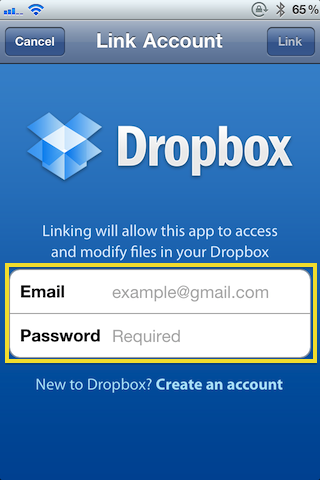 Once your Dropbox account is linked, scroll down to the bottom of the current screen, and tap ‘Accept Changes.’ 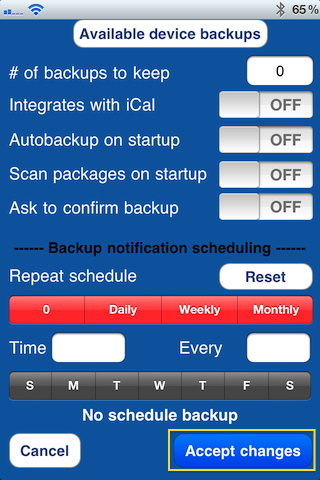 Deciding What You Want to Backup One of the best things about PKGBackup, and ironically one of its downfalls, is the sheer amount of options provided to the user. PKGBackup is very granular in the sense that you can literally decide on each and every aspect of your jailbreak settings that you want backed up and restored. This is awesome for those who are intimately familiar with file structure and jailbreaking, but it can be a tad overwhelming for someone who just wants to make sure that biteSMS is installed the next time they restore their iPhone. For that very reason, I’m keeping this tutorial fairly high level, and will recommend settings that will cover all of the major bases. At the bottom of your main PKGBackup screen you will notice four separate buttons — Refresh, and three others that change depending on which mode you’re in. Backup mode options look like this:  Restore mode options look like this: 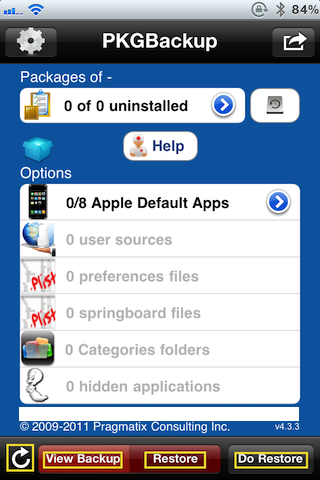 Notice that the refresh button is static, meaning it doesn’t change, it only does one thing — refresh your packages and options. This button is extremely important, so don’t overlook it. In fact, while in backup mode, go ahead and tap the refresh button, and you should see the following dialogue box: 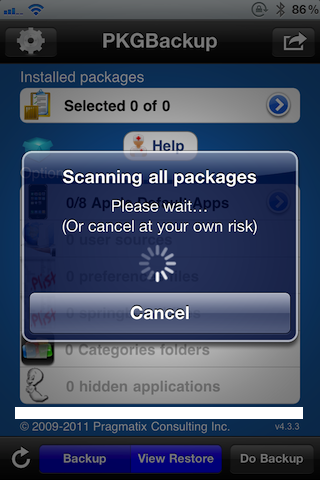 After the refresh is complete, you’ll notice that the installed packages, and options are now populated with info. Depending on what you have installed by way of jailbreak tweaks and apps, these numbers will vary. 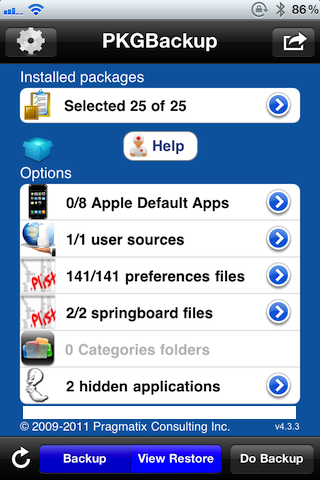 Notice those little blue arrows to the right of each section, those allow you to select or deselect individual preferences, packages, sources, etc. As I stated before, PKGBackup is very granular, and you can pretty much configure each aspect of your backup to your liking. For simplicity sake, I won’t be going there in this tutorial, but I wanted to make you aware that the option does indeed exist. | |
| #2 Post on 2011-05-04 00:38:29 How To Backup And Restore Your Jailbreak Apps, Settings, and Preferences Performing a Backup Now it’s time to actually perform our backup. Can you guess what we’ll do next? Exactly, tap the ‘Do Backup’ button at the bottom-right. 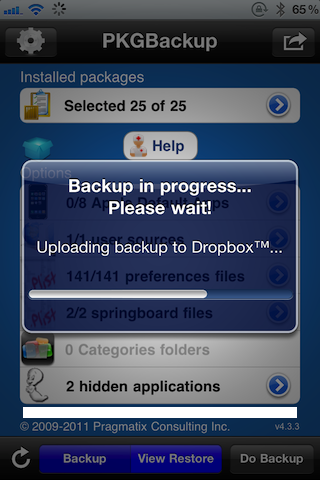 If everything was successful you should see the following message: 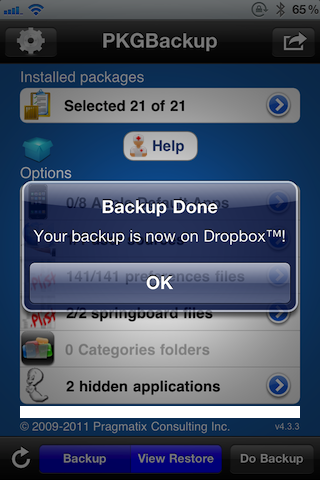 Congratulations, your jailbreak backup should now be on Dropbox! If you go to your Dropbox folder on your computer, you should see a PKGBackup folder with data contained within. Now you have a working backup that can be used in the event that you need to restore your apps, settings, preferences, springboard configuration, and more. Performing a Restore After you’ve successfully created a backup, restoring that backup is extremely easy, especially since you’re using your Dropbox account. For illustration purposes, lets say you’ve completely restored your iPhone to factory settings, jailbroken your iPhone, and used iTunes to restore all of your App Store Apps, emails, SMS messages, etc. What now? Well the only thing missing is all of your jailbreak apps and data. The first thing you need to do is go into Cydia and reinstall PKGBackup. After PKGBackup is reinstalled, use the instructions above to link your Dropbox account with PKGBackup. Once your Dropbox account is linked, select restore mode, and tap the refresh button to grab your backups for Dropbox. If you have multiple backups, you can select the backup that you want to work with by tapping the disk icon and then selecting a specific backup as shown below: 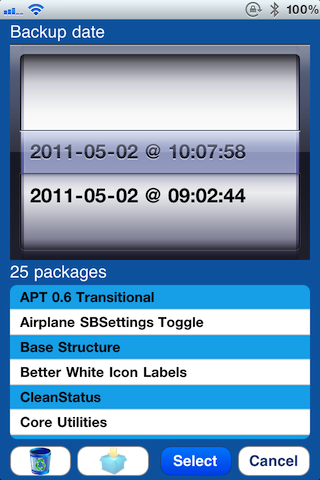 Once you have identified the backup you want to use, simply tap ‘Do Restore’ and then you will be presented with a dialogue to confirm your selection. 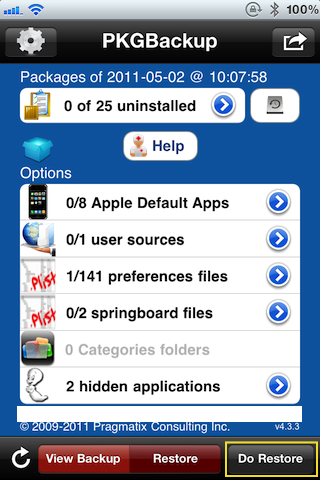 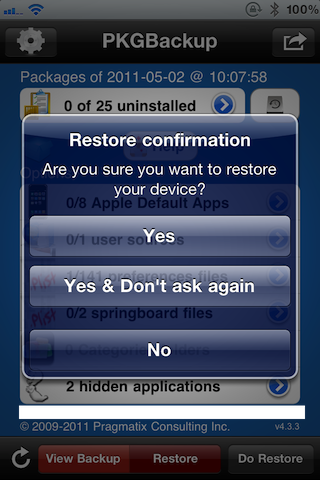 Once you confirm that you want to restore your jailbreak info from backup, PKGBackup will go through the restoral process, and upon completion will prompt you to reboot your iPhone. 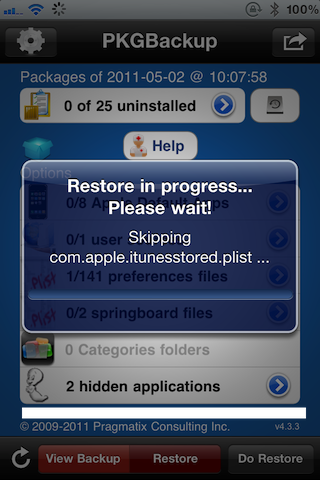 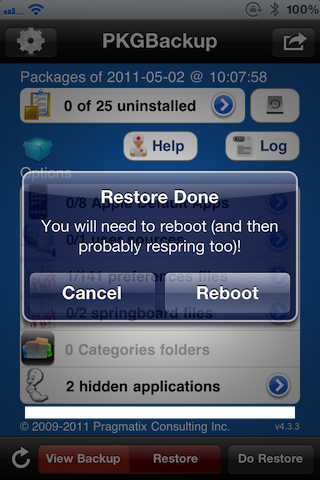 Folks that’s it. Your iPhone should be completely restored to your desired settings from a jailbreak perspective. Summing it All Up To sum things up, here’s what I recommend for those of you who might restore their iPhone often.
When you perform a full restore on your iPhone, meaning you install firmware from scratch and you have to re-jailbreak, perform the following.
Once you master the tandem of iTunes and PKGBackup backups, performing a full restore on your iPhone will seem like a true walk in the park, and not a daunting venture into the unknown. Was this tutorial helpful, could it be improved? Let me know in the comments below, we’re here to help. |
Jailbreak , Unlock , Download , Firmware , iPhone 4 ,iPhone 3G/S , iPod Touch , iPad , iPad 2 , Tutoral , iOS4 , Apple , Free Download iPhone Firmware
Saturday, May 7, 2011
How To Backup And Restore Your Jailbreak Apps, Settings, and Preferences
| #2 Post on 2011-05-04 00:38:29 How To Backup And Restore Your Jailbreak Apps, Settings, and Preferences |